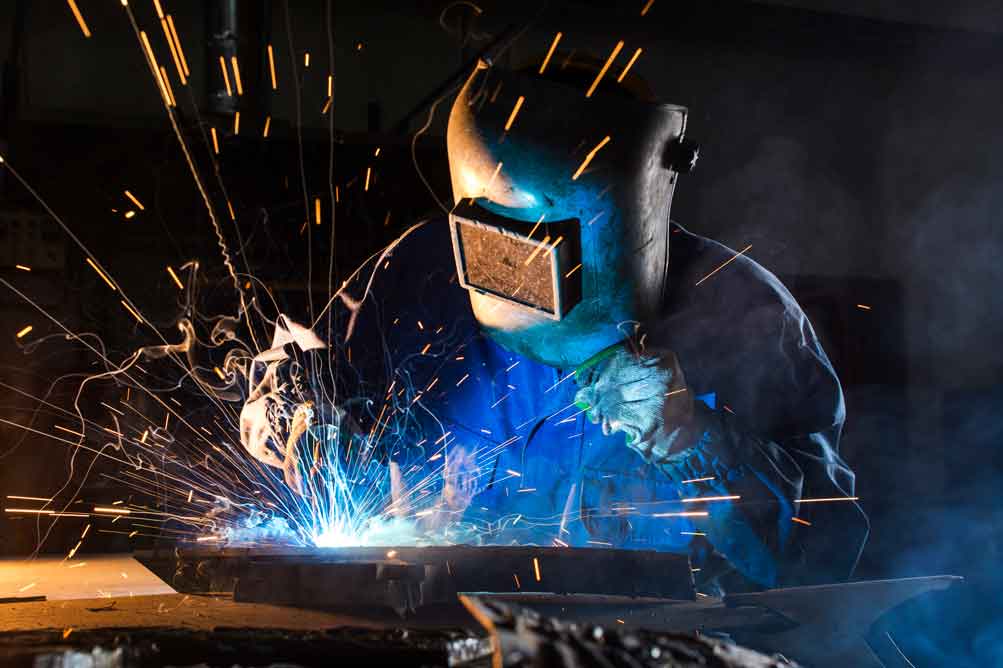
Some of the recurring issues in welding can be attributed to faulty equipment but most come from improper actions, blink-and-you’ll-miss-it errors, and sometimes just some bad luck. Fixing problems in welding can be difficult as it’s not always possible to walk back on the process and just patch over a mistake, given the transformation through which the metals go. Instead of fixing, it’s often easier to prevent these problems. In order to prevent them, we need to understand why certain problems happen and what practices will help mitigate them.
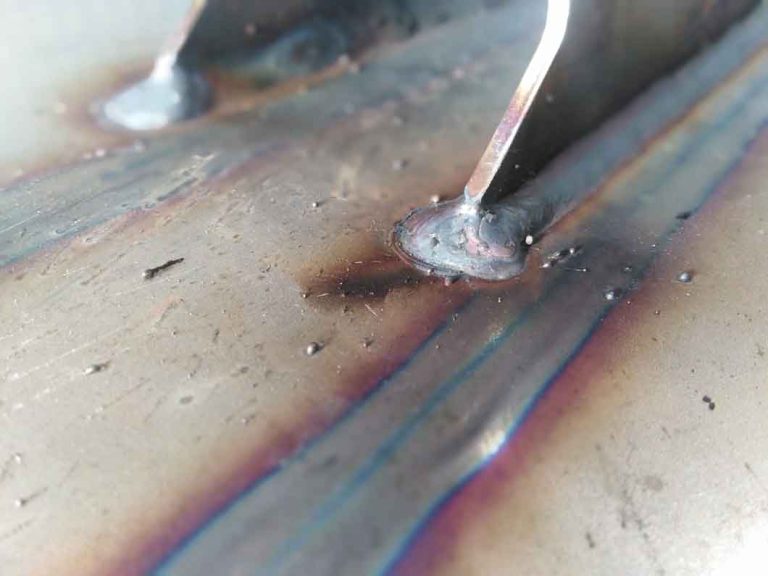
Spatter
Weld spatter is about as annoying as it sounds. Spatter usually forms from droplets of molten material produced during the welding process, namely near the welding arc. These droplets often look like molten balls of metal that attach themselves to the surrounding surfaces such as the metal piece the welder might be working on, or, well the welder themselves. While they aren’t physically devastating to the piece being worked on, it does look wonky and might give the impression that the welding process was done with little to no care. While it might be annoying to remove the spatter afterward, preventing them altogether will save precious time.
The causes of spatter can vary. Sometimes the metal composition is at fault; not every type of metal is meant for welding. Some components don’t have the strength to withstand the heat that welding brings. Other times, the metal coating could be erroneous, the metal could simply be dirty, or improper welding techniques and settings could be at play. These problems aren’t necessarily rare, however, a little further research and attention to the setup could be the difference between spatter flying around ruining the metal and finishing the task with no hiccups or hurdles.
Quick ways to prevent spatter could be to reduce the current and the arc length, increase the torch-to-plate angle, and clean the gas nozzle. By taking a few precautions, you may be clear in avoiding spatter on various welding processes.
Porosity
Porosity is another common welding defect that’s easier to prevent than it is to solve after the fact. This defect happens when there’s the absorption of nitrogen, oxygen, and/or hydrogen in the weld pool. This generally occurs inside the weld during the cooling process. There are several types of porosity such as surface, subsurface, wormholing, and cratering each with its own causes and deformities.
The most common one is surface porosity which shows deformities to even the most untrained eye. The other forms can be slightly more difficult to see as you take a gander, but their subtle imperfections can affect the welded metals negatively.
Porosity can be caused by the contamination of the metal at hand, including by paint, oil, moisture, mill scale, etc. As the heat from the welding increases, these contaminants will transform into gasses that then become trapped within the weld pool, essentially weakening the weld itself.
As is the case with spatter, removing porosity after the fact is time-consuming and arduous. Your time is better spent taking the necessary precautions to avoid porosity. Some of them include keeping the workspace clean, using fresh welding consumables, having dry and clean plate edges, and regularly checking the equipment. The last thing you need is a leaky welding torch because you didn’t check it before using it!
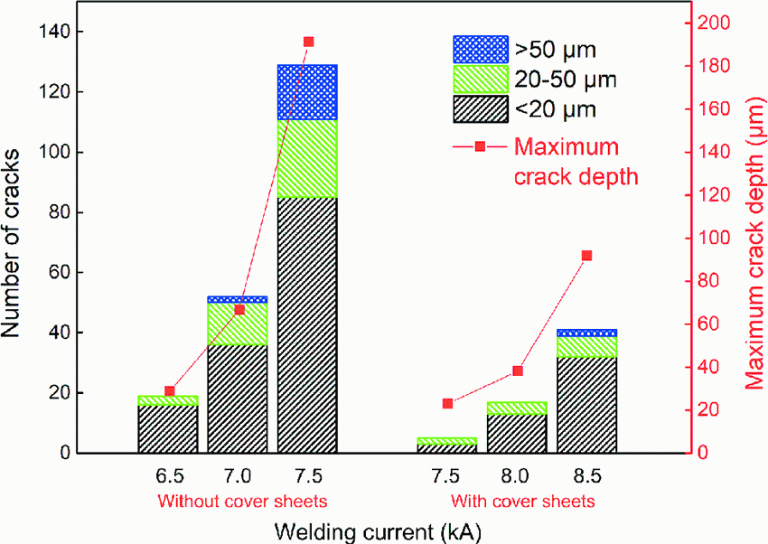
Cracks
Of all the recurring problems in welding, cracks may just be the most annoying of them all. Cracks happen when the internal stresses of a weld exceed the strength of the filler metal and/or base metal. Unlike the other problems, which could be solved after the fact, cracks are much more of a nuisance. To fix them, the weld would need to be ground out, and then a new weld would need to be performed. Essentially, you would need to eliminate the problem and restart from scratch. If that sounds like lost time, that’s because it very much is.
While the cracks often happen because of external and internal stresses, they aren’t all the same. The physical loads may be too heavy for the welding process; residual welding stresses, the more frequent cause, can weaken the joints, leading to cracks in the metal. Cracks also occur in two extremes: very hot and very cold temperatures.
Hot cracks occur at higher temperatures when the liquid metal can’t sufficiently fill the spaces between the weld metal that’s in the midst of solidification. As the metal shrinkage begins, so does the cracking as there’s an excessive amount of stress that occurs simultaneously. Hot cracks can be attributed to a strain on the weld pool, a blockage of weld liquid, impurities in the metals, and above-average temperatures. To avoid these cracks, it’s best to keep the causes in mind and keep the strain and temperature to the lowest possible without sacrificing the quality of the weld.
Cold cracks, while on the opposite side of the temperature spectrum, are still just as annoying. Cold cracks cause sharp-edged crevices to form throughout the weld. Like its warmer brother, it can absolutely ruin the weld. It can occur after the weld has solidified and can be caused by a combination of welding stress, a brittle hard structure, the presence of hydrogen, and temperatures below 150°C. To prevent cold cracks, ensure you have a proper width to depth ratio on weld beads, select your base material properly, and validate your technique to mitigate any improper moves or processes you may not be sure of.
Undercut
Undercutting in welding is when grooves begin to appear on the base metal near the root of the weld. While this is sometimes the result of a weak welding process if undercuts do appear they can drastically reduce the strength of the weld and workpieces. Some of the causes for undercuts include maintaining too long an arc length and maintaining excessive current which causes edges of the joint to melt and drain into the weld. The latter will leave a drain-like impression across the weld. As well, selecting the wrong gas shield, poorly depositing the filler metal along the edges of the weld, using incorrect filler metal, and using an improper electrode angle can all cause undercuts in the weld.
Simply put, undercutting in welding isn’t uncommon. Correcting the undercuts is doable, but, like clockwork, prevention is key. To ensure proper welds and to avoid undercuts, double-check the heat input, work at a decent speed (one you can properly supervise), correct the electrode angle and size, and perfect your weaving technique as much as possible before starting your weld.
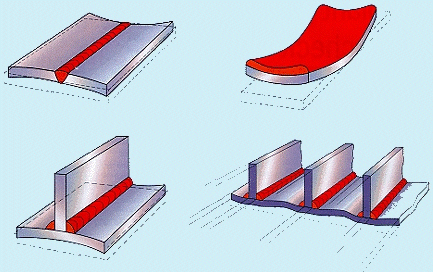
Distortion
One of the more visible defects, distortion of the metal occurs when the heating and cooling is uneven. Usually caused by compressive stress that occurs on the area around the edges, the metal can begin to deform and turn into an unwanted shape. Different forms of distortion include longitudinal shrinkage, transverse shrinkage, angular distortion, bowing and dishing, buckling, and twisting. While these all may sound a bit odd, it’s important to take the proper steps to avoid distorting the shape of the metal you are working on.
Preventing distortion in metal isn’t always a one-size-fits-all solution, but it can mitigate any unwanted disasters. Avoid welding from both sides of the joint. Weld from the center all the way, also going in opposite directions. Use large electrodes and clamp firmly. As well, alternate sequences of welds and locations if you begin to notice the beginning of the distortion.
Much Ado About Welding
Welding is a nifty but complicated process. Errors are easy to come by but they are also easy to prevent. Considering that a good portion of welding is done by real welders, problems may sometimes arise as a lapse of judgment, which could be caused by fatigue, stress, and other human factors. Humans are imperfect and sometimes that leads to imperfect welds. Other times, it can just be bad luck. In any case, these problems are common and easy to identify, giving you the most information possible to complete your welds in the most efficient manner possible.
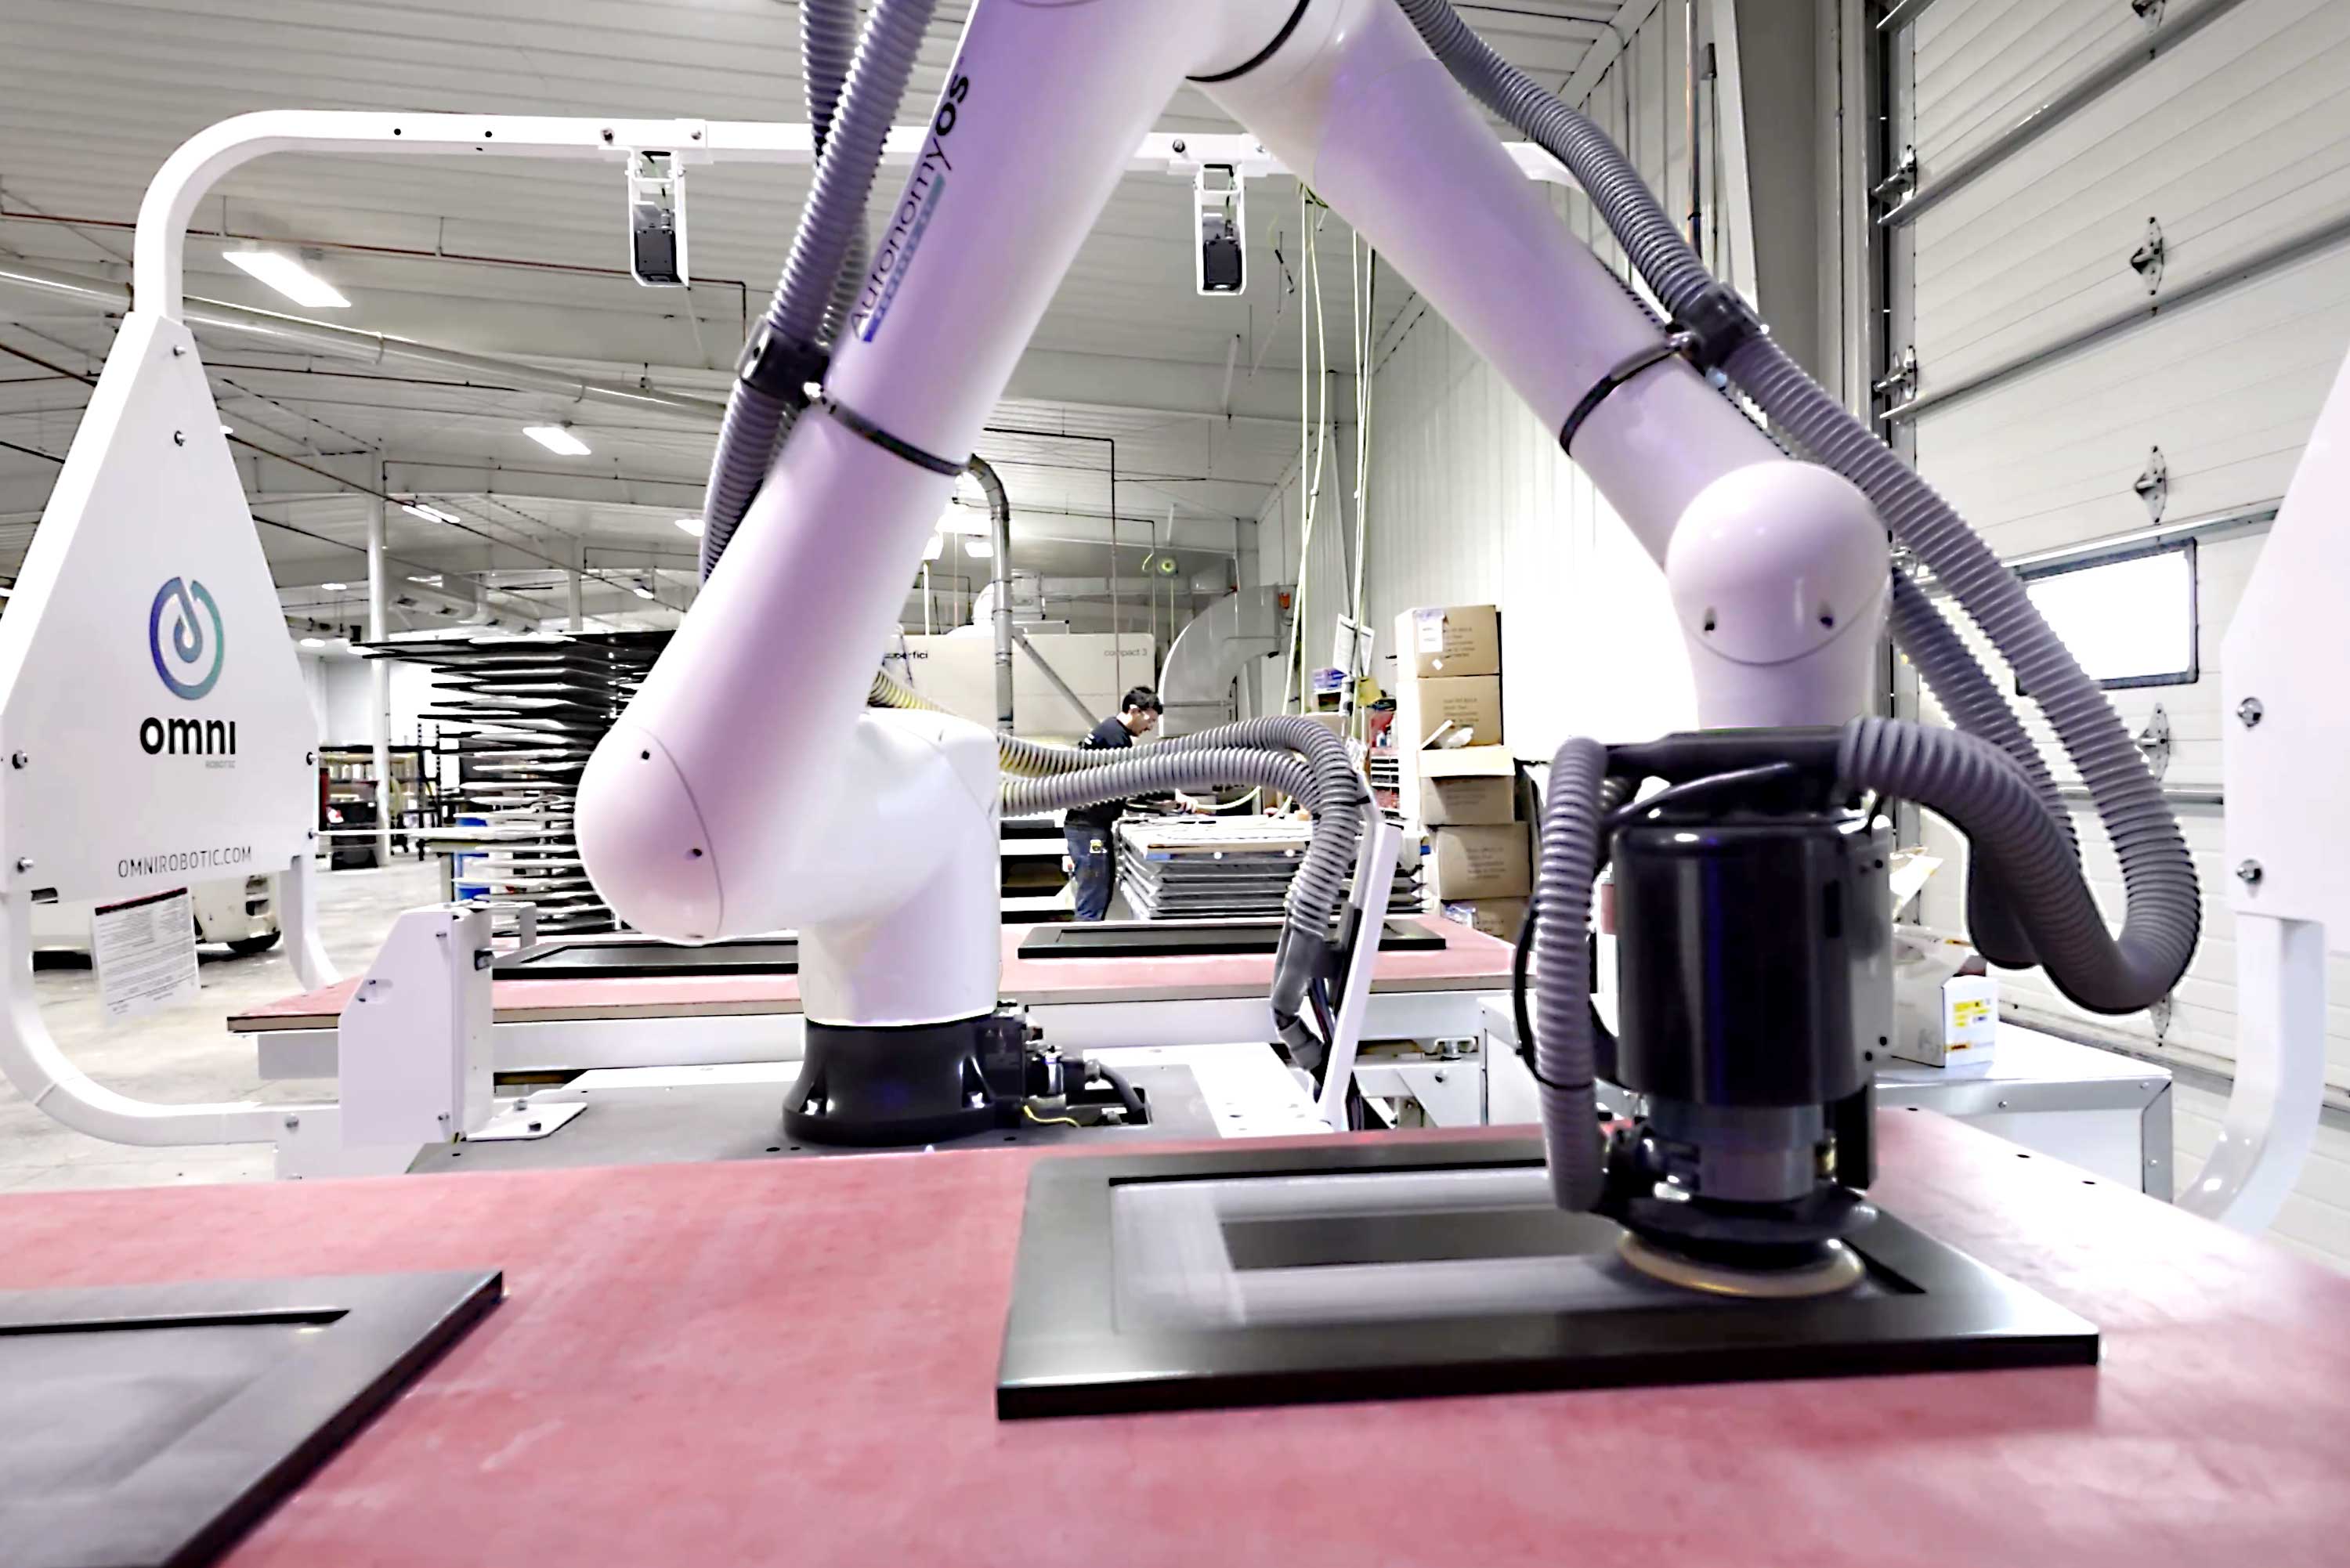
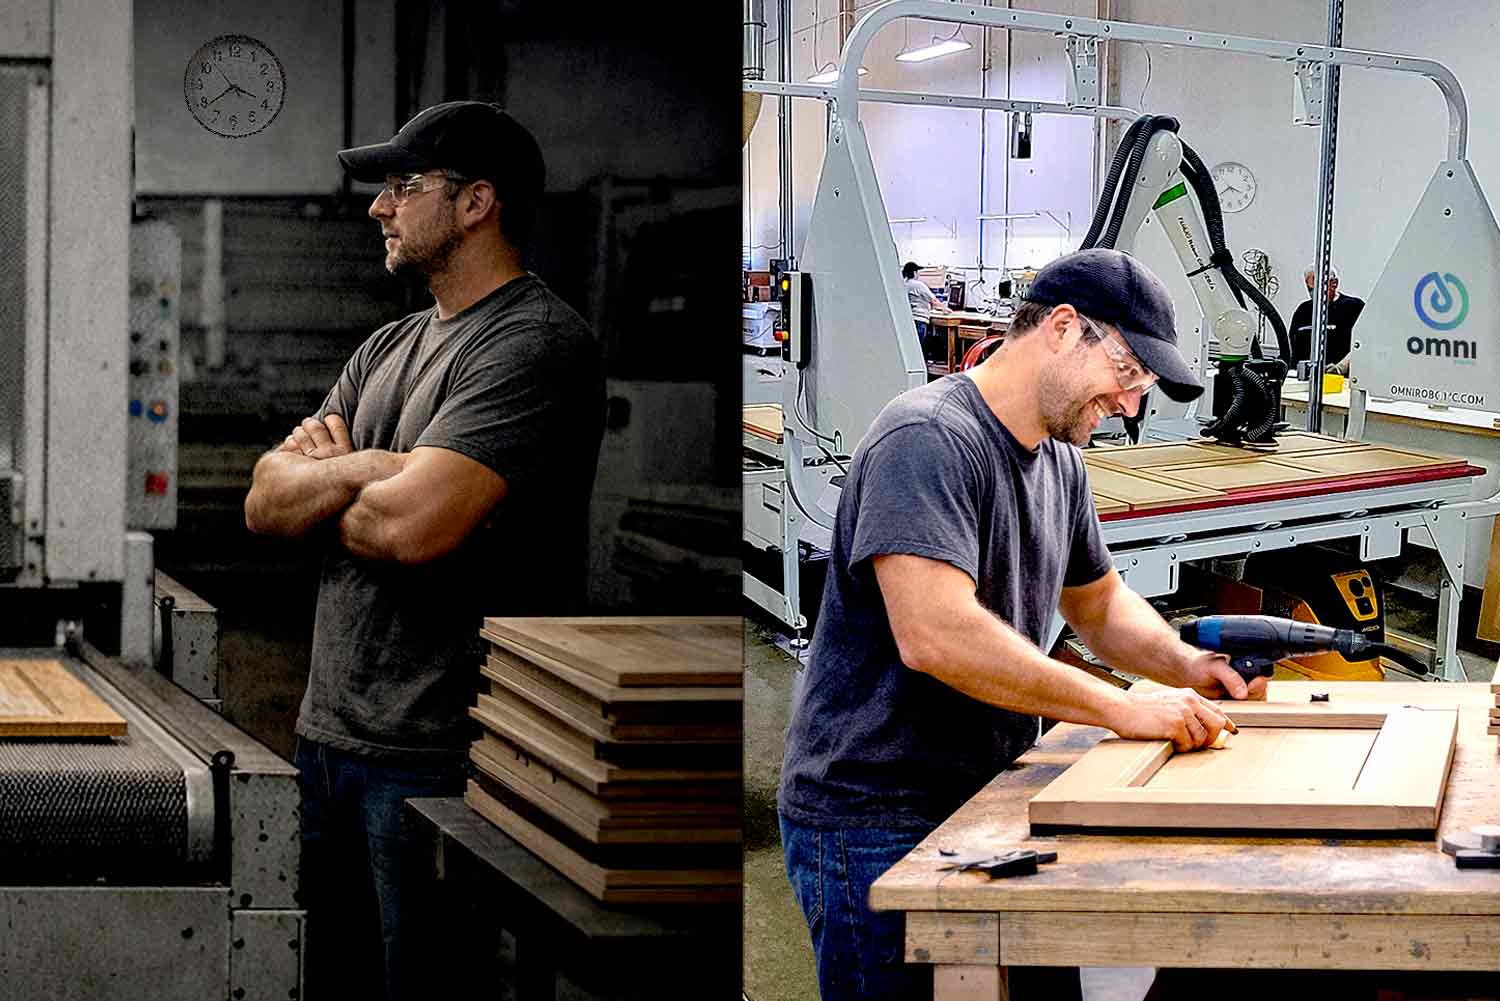
When human welders are no longer an option, autonomous robots can answer the call. Using 3D Perception with AI-based Task Planning and Motion Planning, manufacturing engineers and integrators can configure autonomous robotic systems to analyze and weld various pieces of metal regardless of their shape, complexities, and sizes. Contact us to learn more.